
The focal point of this look is obviously your eyes, but more importantly, your lash line. The thick liner, winged out at the end creates a look of thick lashes and a very pleasing shape to the eye. So to keep the focus on the liner, I'm using fairly neutral shadow colors.
You will need:
A palette of neutral colors (Urban Decay's Naked or Naked II and Tigi's Professional palette are perfect)
Liquid or cake eye liner
Liner brush
Mascara
Urban Decay's Primer Potion
Mac's Set Powder
Shadow brush for blending
Brush to apply set powder
I used Naked and Tigi's palette. Here are my maps for the colors I used:


Start with the wonder twins:
 |
| Okay, they're not really twins, but they do wonderful things. |
 |
| I didn't use as much as I would for darker colors, because it's not necessary in this case. |
Sweep a layer of "Champagne" across the bottom of your brow bone.
 |
| I didn't realize the lighting was so horrible until after I took these. |
Apply "Sidecar" to your inner corner, across your lid, and below your eye, about a third of the way.


Fill the rest of you lid with "Sidecar" as well.

Now apply a layer of "Buck" into your crease.

Blend with a clean shadow brush.

After blending, you may need to add a bit more "Sidecar" to your inner corner.

Okay, I'll show you the trick to getting your eyeliner to look beautiful and glamorous as opposed to a drag queen (not a like fishy queen, rather, a nube). Pull your eyelid taut, and hold it with your finger as you apply the liner with a brush.
 |
| Like so. |
 |
| Genius, I tell you! |

When you release your lid, it should look something like this:

Start in the middle again, and thicken the ends a bit.

The way I think of it, to simplify the situation, is to pretend I'm drawing an obtuse triangle on the outer corner. Since makeup is essentially about shapes and shades, it really does make sense.
 |
| Yes, I'm aware that I'm a nerd who uses math to do makeup. |
It should look similar to this:
 |
| Pulled. |
 |
| Relaxed. |
 |
| Open. |

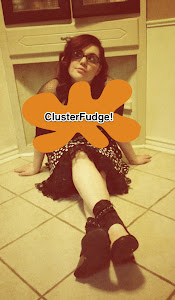
Finish with mascara and you're done! Another great thing about the neutral shadow is that it pairs well with bold lip colors. Here are some examples of the color options and my inability to make a serious face:
 |
| Like pink... |
 |
| ...and red. |
No comments:
Post a Comment